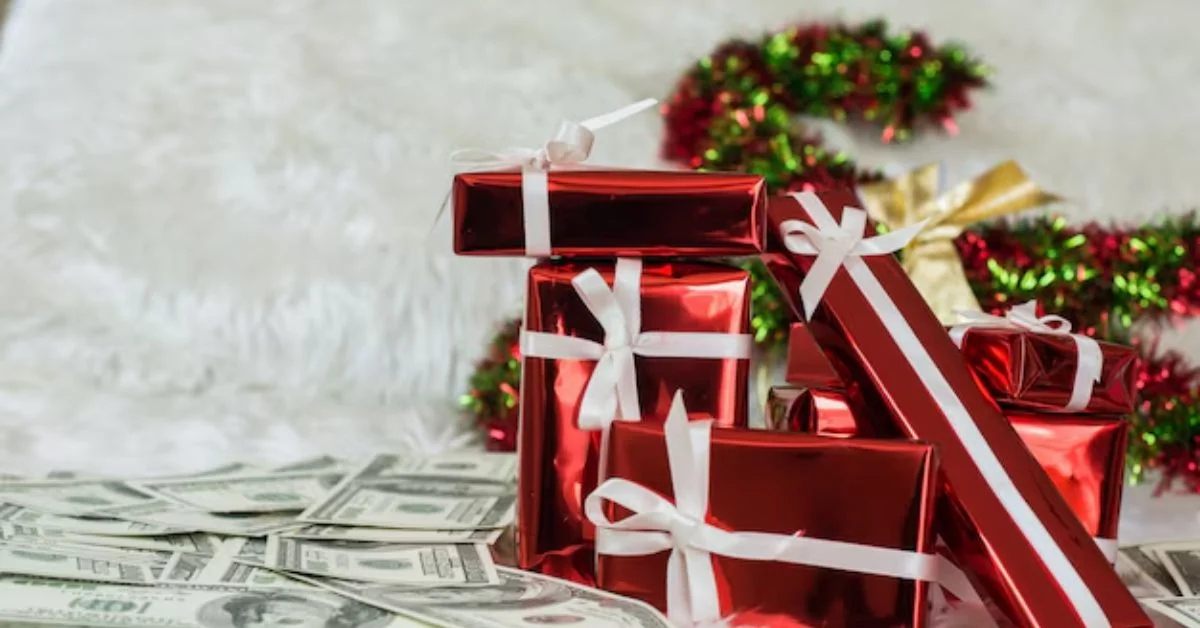
Are you looking for a unique gift that combines creativity with practicality? A money flower bouquet may just be the perfect solution. Not only does it add a personal touch to your gift-giving, but it’s also an innovative way to present cash in a visually stunning format.
Imagine the delight on someone’s face when they receive this thoughtful arrangement of flowers crafted from crisp bills. Whether it’s for a birthday, wedding, graduation, or any special occasion, this DIY project allows you to express your love and generosity in an unforgettable way.
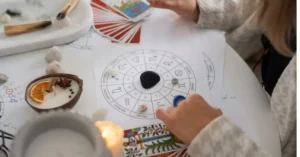
Creating your own money flower bouquet is easier than you might think. With just a few supplies and some simple steps, you’ll have a delightful centerpiece that serves as both decoration and gift. Ready to get started? Let’s dive into the supplies you’ll need!
Supplies
To create your stunning money flower bouquet, you’ll need a few essential supplies. Gathering everything beforehand will make the process smoother and more enjoyable.
First on the list is cash, of course! You can use various denominations to add visual interest. Consider folding different amounts for a playful touch that mirrors traditional flower arrangements.
Next up are floral wires or wooden skewers. These will serve as stems for your flowers, giving them stability and making it easy to assemble the bouquet later on. Choose wires that are sturdy enough to hold their shape but flexible enough for bending.
You’ll also need crepe paper or tissue paper in vibrant colors to craft petals that look lifelike and beautiful. These materials are lightweight yet durable, allowing you to shape them easily around your cash “petals.”
Don’t forget about adhesive tape or glue dots! They’re crucial for holding everything together securely as you create each flower bloom. A hot glue gun can also come in handy if you’re working with heavier elements.
Grab some ribbon or decorative wrapping material for an elegant finish when assembling your bouquet. This little detail elevates the entire presentation and adds a polished look that’s sure to impress anyone receiving it!
Instructions
Creating your own money flower bouquet is a fun and creative process. Start by gathering all your supplies in one area. This ensures everything you need is within reach, making the crafting experience smooth.
Once you’re set up, lay out your bills flat on a clean surface. If you’re using larger denominations, consider folding them carefully to maintain their crispness while adding a decorative touch. For smaller bills, stacking them might work best for creating fuller petals.
Next, choose how many flowers you want in your bouquet. Each flower can use different amounts of cash depending on how lush you’d like it to appear. A good rule of thumb is three to five petals per flower for balance and visual appeal.
Now that you’ve prepared the cash you’ll use, decide on the arrangement style for each bloom. You can mix different bill sizes or colors for added flair. Visualize how these flowers will come together before proceeding with assembly; this step makes the next stages much easier.
Once you have arranged your petals and planned out each flower’s design, grab some floral wire and tape to secure everything together later on. Take this time to focus on creativity—let every petal represent something special about the recipient!
Create Petals
Creating petals for your money flower bouquet is a fun and creative process. Start by selecting the bills you want to use. When choosing denominations, consider combining different sizes for added visual appeal. For example, mix fives with tens or twenties to create contrast.
Next, fold each bill carefully to form petal shapes. A simple way to do this is by folding the bill in half lengthwise and then rolling each end slightly inward toward the center. This will give you a lovely rounded petal shape that mimics real flowers.
You can also experiment with various techniques like curling the edges of each petal using scissors or gently bending them for texture. The goal is to make them look as vibrant and lively as possible.
Once you have folded several bills into petals, it’s time to secure their shapes. Use small pieces of floral wire or tape at the base of each petal so they hold their form well when assembled later on.
Feel free to get creative! You can add paper decorations, stickers, or even glitter if you’re feeling adventurous. Personal touches will make your money flower bouquet truly unique and special.
Combine Petals into Flowers
Now that you have crafted your petals, it’s time to combine them into beautiful flowers. This step is where your creativity really shines. Choose a few petal designs that complement each other well in size and shape.
Start by taking two or three petals at a time. Arrange them in a way that they overlap slightly, forming the illusion of fullness. You can experiment with different placements until you find the perfect combination for each flower. Don’t hesitate to mix colors or patterns; variety adds life to your money flower bouquet.
Once you’re satisfied with the arrangement, secure the base of the petals together using floral wire or tape. Wrap tightly but not too tight—this ensures that your petals maintain their shape without crumpling under pressure. If desired, add an additional layer of smaller petals for added depth.
For extra flair, consider adding some embellishments like glitter glue or small decorative beads at the center of each flower. These little touches will draw attention and make your bouquet even more special.
Continue this process until all your flowers are assembled. Enjoy watching as these unique creations come together! Each one will reflect a bit of your personality and effort while making sure they look stunning when combined into one spectacular bouquet.
Assemble the Bouquet
Once you’ve crafted your individual flowers, it’s time to bring everything together into a stunning money flower bouquet. Start by laying out all your flowers on a flat surface. This allows you to visualize how they will look when assembled.
Begin with the largest flowers as your base layer. Arrange them in a circular pattern, ensuring that they are evenly spaced. The larger blooms provide stability and create an eye-catching foundation for smaller petals.
Next, add in the medium-sized flowers around the larger ones. These should overlap slightly for depth and texture. Play around with different arrangements until you find one that feels balanced and visually appealing.
After positioning the medium blooms, fill in any gaps with the smaller petals you’ve created earlier. This is where creativity comes into play; mix colors or patterns to enhance interest within your bouquet.
Once satisfied with the arrangement of all your flowers, gently hold them together at their stems. Be mindful not to disturb their placement too much as you prepare for wrapping later on. A little patience here ensures a beautiful final product everyone will admire!
Wrap the Money Bouquet
Wrapping your money flower bouquet adds the perfect finishing touch, elevating it from a unique gift to an exquisite present. Start by choosing a decorative wrap that complements your flowers. Tissue paper or cellophane works well; however, consider using burlap for a rustic charm.
Cut the wrapping material into large squares or rectangles. Lay one piece flat on your surface and arrange your assembled flowers in the center. Ensure they’re positioned at varying heights for visual interest.
Once you have them placed just right, begin folding up the sides of the wrap around your flowers, securing them gently but firmly to keep everything together. You might want to use floral tape or string to hold it all in place without damaging those delicate petals.
If you’re feeling extra creative, add embellishments like ribbons or bows to tie it all together beautifully. A personalized tag can also enhance its sentimental value—perfect for any occasion.
Your money flower bouquet is now not only ready for gifting but also stands as a testament to thoughtfulness and creativity! Enjoy sharing this special creation with someone who will appreciate both its beauty and practicality.