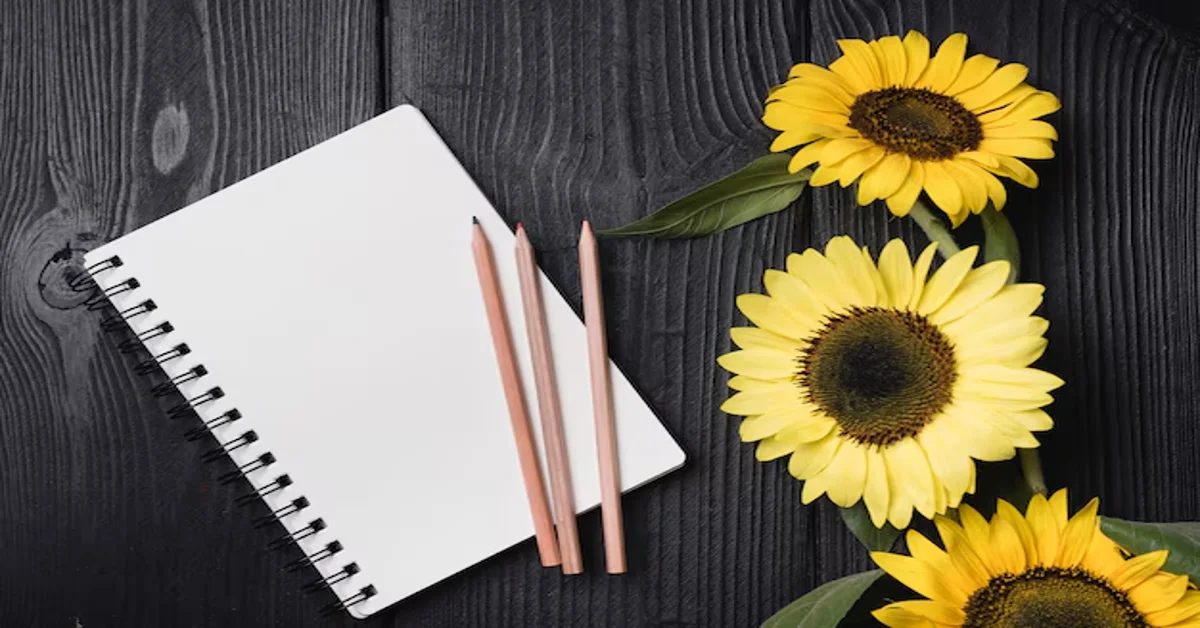
Sunflowers are a favorite subject for artists due to their bright, cheerful appearance and intricate petal details. Whether you’re a beginner or an experienced artist, mastering a sunflower drawing can enhance your artistic skills and creativity. This guide will take you through a simple yet effective approach to sunflower drawing, covering materials, techniques, and helpful tips.
Materials Needed for Sunflower Drawing
Before starting, gather these essential materials:
- Pencil (HB, 2B, or 4B) – for sketching outlines and shading.
- Eraser – to refine and correct mistakes.
- Drawing Paper – preferably smooth-textured for easy shading.
- Fine Liner Pen (optional) – for adding ink details.
- Colored Pencils or Watercolors – to bring your sunflower to life.
Step-by-Step Guide to Sunflower Drawing
Step 1: Sketch the Basic Shape
- Start with a small circle in the center to represent the sunflower’s disk.
- Draw a larger circle around it to mark the area where the petals will go.
Step 2: Add the Petals
- Sketch elongated oval-shaped petals around the central disk.
- Slightly vary the petal sizes and angles for a natural look.
- Overlap some petals to create depth and realism.
Step 3: Define the Center
- Add small dots and circular scribbles inside the center to mimic the sunflower’s textured seeds.
- Use light strokes to shade and give the center a three-dimensional effect.
Step 4: Draw the Stem and Leaves
- Extend a slightly curved line downward from the flower’s base for the stem.
- Attach large, jagged-edged leaves on either side.
- Use fine lines to depict leaf veins for added detail.
Step 5: Refine and Add Details
- Darken the outlines of the petals and center for a bold look.
- Use shading techniques like hatching or blending to enhance depth.
- Erase unnecessary guidelines and refine the edges.
Step 6: Add Color (Optional)
- Use yellow and orange tones for the petals.
- Apply brown and dark green shades to the center and stem.
- Blend colors smoothly for a realistic effect.
Tips for Enhancing Your Sunflower Drawing
- Observe Real Sunflowers – Study reference images for better accuracy.
- Experiment with Different Angles – Try drawing sunflowers from a side view or in a bouquet.
- Use Various Mediums – Try sketching with charcoal, painting with watercolors, or using digital tools.
- Practice Shading Techniques – Light strokes create a soft effect, while cross-hatching adds texture.
Common Mistakes and How to Fix Them
1. Uneven Petals
- Solution: Use light guidelines to space petals evenly before detailing.
2. Flat-Looking Center
- Solution: Add small dots and circular shading to create depth.
3. Stiff Stem and Leaves
- Solution: Use slight curves and organic lines for a natural appearance.
Final Thoughts
Drawing a sunflower is a fun and rewarding artistic exercise. With patience and practice, you can create detailed and vibrant sunflower sketches. Keep experimenting with styles and techniques to improve your skills!
🎨 Ready to Start Drawing?
Grab your materials and follow this guide to create your own sunflower masterpiece. Share your artwork and inspire others!
FAQs About Sunflower Drawing
- Q1: What is the easiest way to draw a sunflower?
Start with a basic circle, add evenly spaced petals, and detail the center with small dots and shading.
- Q2: How do I make my sunflower look more realistic?
Focus on light and shadow, overlap petals, and add texture to the center.
- Q3: Can I draw a sunflower without guidelines?
Yes, but guidelines help maintain symmetry and proportion, especially for beginners.
- Q4: What colors should I use for a sunflower?
Use yellow and orange for petals, brown and green for the center and stem.


